
The Internet of Things is the inter-networking of physical devices, vehicles, buildings, and other items embedded with electronics, software, sensors, actuators, and network connectivity that enable these objects to collect and exchange data.
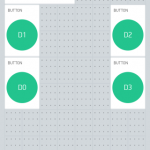
This Robot takes command from remote device (Smart Phone) which is connected to internet and command is received and decoded with the help of nodeMCU which gives the command to l293d motor driver module.
This motor driver module used to drive an inductive load like motor according to input of this IC.
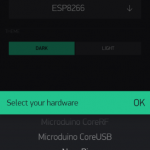
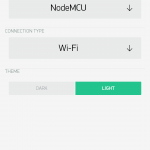
NodeMCU – WiFi IoT Module It is an open-source LUA based firmware developed for ESP8266 wifi chip. By exploring functionality with the ESP8266 chip, NodeMCU firmware comes with ESP8266.

L293D – MOTOR DRIVER IC The L293 and L293D devices are quadruple high-current half-H drivers. The L293 is designed to provide bidirectional drive currents of up to 1 A at voltages from 4.5 V to 36 V. The L293D is designed to provide bidirectional drive currents of up to 600-mA at voltages from 4.5 V to 36 V.

DC Motor. (12Volt 1Amp 1000rmp)

Breadboard

Robot Chassis. 2 wheeler Chassis with two Tyre

Jumper Wires.
Jumper wire which is used to the connection of these modules.
Mainly male-female jumper wire is used on this type of project.

12V Adopter.
12 volts 2 Amp. Current
OR
1.5 V * 4 =12V Cell

Block diagram

Wiring Connection

Configure Arduino IDE for Nodemcu
Arduino code For Nodemcu
#include <ESP8266WiFi.h>
#include <BlynkSimpleEsp8266.h>
// You should get Auth Token in the Blynk App.
// Go to the Project Settings (nut icon).
char auth[] = “YourAuthToken”;
// Your WiFi credentials.
// Set password to “” for open networks.
char ssid[] = “YourNetworkName”;
char pass[] = “YourPassword”;
void setup()
{
// Debug console
Serial.begin(9600);
Blynk.begin(auth, ssid, pass);
}
void loop()
{
Blynk.run();
}